
Why Fabric Breaks at the Grips During a Tensile Test
Date: November 17, 2026 Categories: Buying Guides、Resources Views: 4288
Why Fabric Breaks at the Grips During a Tensile Test
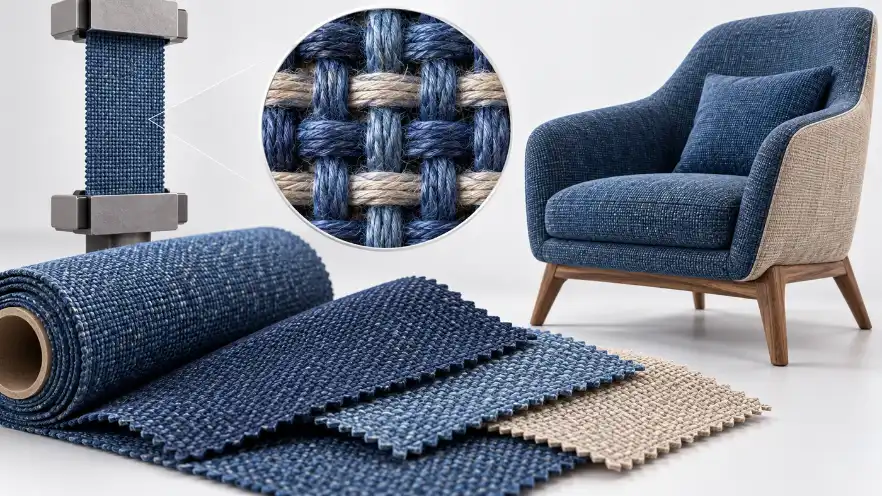
A fabric specimen that tears at a jaw edge needs investigation before the result is used for a material decision. The location is a clue, not a complete diagnosis: inspect preparation, alignment and gripping, then apply the result-handling rules of the specified method.
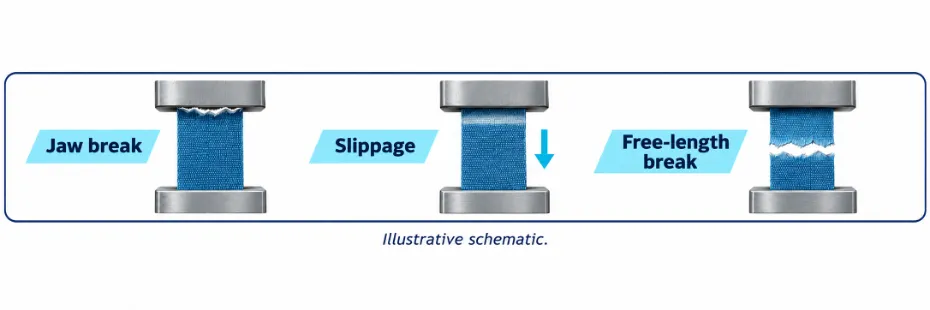
Identify what actually happened
Keep the broken specimen and photograph both ends. Record which jaw was involved, the specimen direction and the observed failure location. A force trace may help identify an irregular event, but a trace alone does not establish the cause.
Check preparation and alignment first
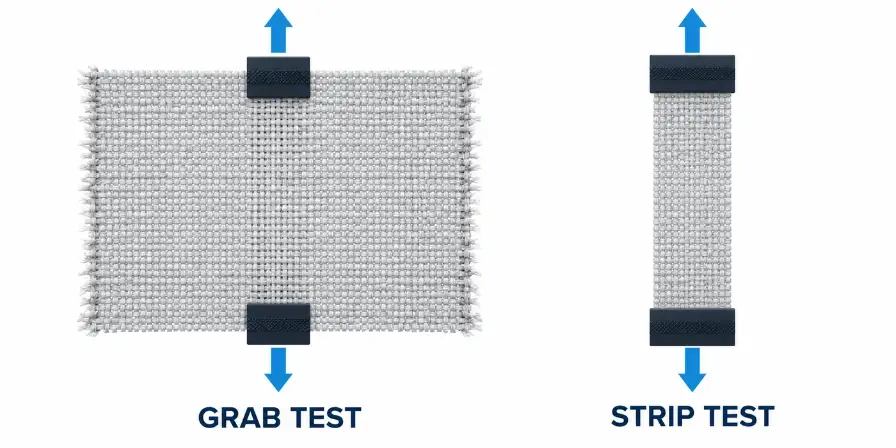
Look for cut damage, frayed edges beyond the intended preparation, wrinkles and uneven seating. Confirm that specimen orientation and preparation match the test method. Grab and strip procedures do not use the specimen in the same way; avoid transferring a grip arrangement from one procedure without checking it.
Align the specimen with the loading axis and remove unintended folds. Compare results from a controlled setup rather than changing preparation, test speed and clamping simultaneously. See the grab versus strip testing guide for the method distinction.
Balance holding force against local damage
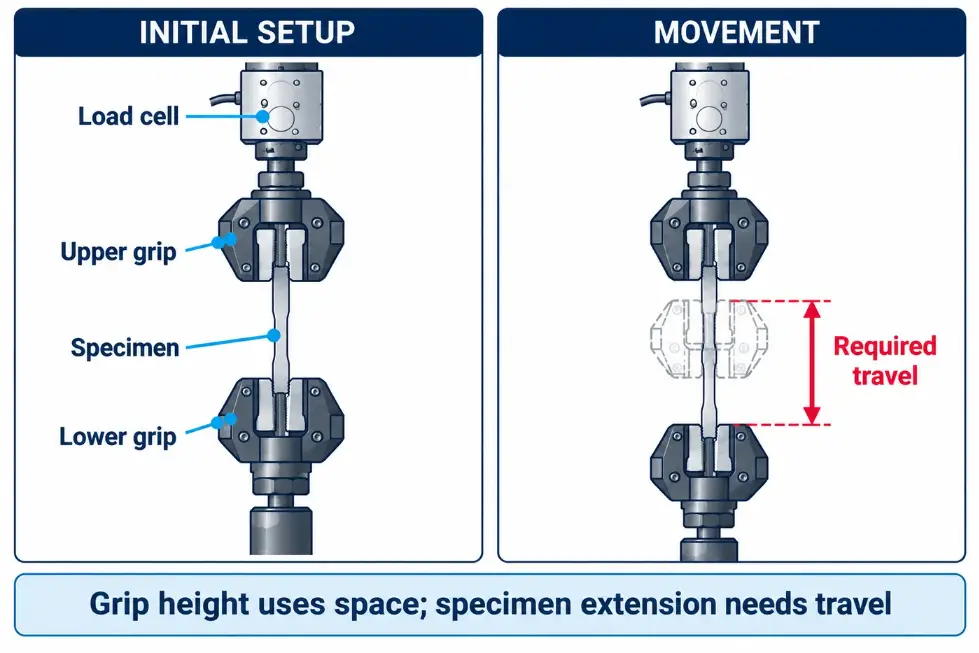
Too little holding force can allow slip; unsuitable contact surfaces or excessive local clamping can damage sensitive fabrics. Increasing pressure is therefore not a universal cure. Inspect jaw cleanliness, wear, face geometry and compatibility with the fabric.
Follow the grip manufacturer's instructions and the applicable method when adjusting clamping or changing faces. Pneumatic operation can make settings more repeatable, but it does not make every face suitable for every textile. Unload and make the machine safe before inspecting or adjusting grips.
Run a controlled investigation
- Save the original curve, settings and failure photographs.
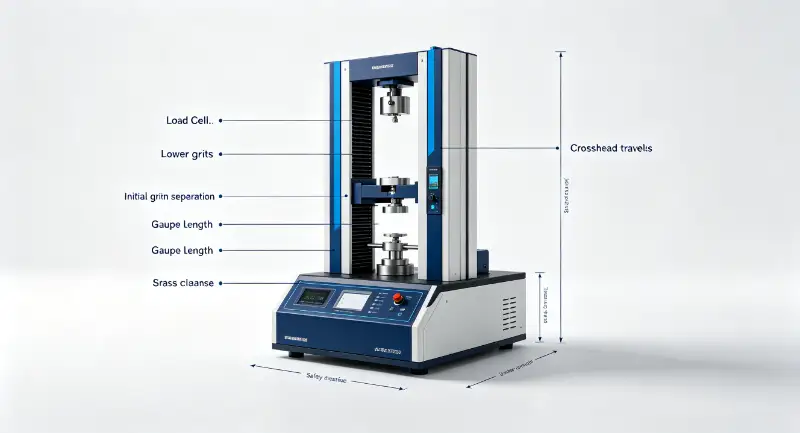
- Check the specified preparation, gauge length and gripping requirements.
- Inspect faces and alignment; document any correction.
- Use fresh, comparable specimens and change one permitted variable at a time.
- Record failure locations as well as force results.
- Apply the method's acceptance, retest and reporting provisions.
Do not keep testing until a preferred number appears. If a deviation is needed for development work, distinguish that investigation from a conforming test report.
What to send for a grip review
Include fabric construction, coating or finish, specimen dimensions, test direction, method, expected force, current jaw-face photographs and the failed specimen. Send the force trace and any visible evidence of slip. These details help separate a configuration problem from a material or preparation issue.
The DERUI fabric tensile tester page is the product reference; the grip package should be specified for the intended procedure and sample.
Make the failure location an observation, not a verdict
A jaw break is a rupture at or close to the gripping region. It can be associated with the local stress and contact conditions, but failure position alone does not prove that the fabric is defective or that the machine is faulty. A free-length break is not automatically valid either: preparation, settings and the method still matter.
When a laboratory sees repeated jaw-edge failures, preserve both the result and the specimen. Record distance from the jaw edge where practical, which grip was involved and whether the same behavior occurs in both specimen directions. Do not discard inconvenient results without documenting the reason required by the method.
Use an observation-to-check sequence
| Observation | Checks to make | Evidence to retain |
|---|---|---|
| Failure repeatedly at one jaw edge | Contact face condition, specimen seating, alignment and preparation damage | Close-up of the jaw edge and failed specimen |
| Fabric visibly moves through the grip | Face suitability, permitted clamping settings and seating | Safe video or before-and-after reference position |
| Large variation between comparable specimens | Sampling, direction, preparation, conditioning and settings | Individual curves and setup records |
| Failure changes after a setup change | Whether other variables also changed and whether the adjustment is method-compatible | Original and revised settings, not just averages |
A sudden change in force can accompany several events. Combine the trace with observation rather than labeling every irregularity as slip. Marking or monitoring a specimen must not damage it or conflict with the prescribed preparation.
Why more clamping pressure may not solve it
The aim is secure load transfer without introducing an unsuitable local failure condition. A smooth fabric, a coated fabric and a highly extensible knit may need different grip arrangements. Increasing a setting without checking face suitability can replace slippage with local damage.
Examine face cleanliness and wear, and follow the equipment instructions for adjustment. Do not improvise abrasive surfaces, adhesives or tabs for a standards-based test without establishing that the method allows them. A development experiment using a modified grip must be reported as such.
Always stop and unload before handling the specimen or jaws. Keep hands clear during motion and follow the equipment's safety procedures; diagnosis is not a reason to reach into a loaded test.
A controlled retest example
Illustrative example—not DERUI customer test data: several specimens fail near the upper grip. The operator photographs the failures and inspects seating and face condition. An alignment issue is corrected, and fresh comparable specimens are tested without simultaneously changing the speed or specimen preparation.
The comparison records failure position and the complete force response. If behavior changes, that supports further investigation of the corrected setup; it does not establish a universal causal conclusion. Whether the results enter the final report depends on the chosen method's rules for validity and retesting.
A reusable troubleshooting record
- Fabric construction, coating, batch and test direction.
- Method and edition, grab or strip procedure, specimen preparation and dimensions.
- Gauge length, speed and permitted pretension settings.
- Grip type, face dimensions, face condition and clamping setting.
- Failure location, visible movement, individual curve and photographs.
- One adjustment made, reason for it and outcome on fresh specimens.
Should every jaw break be rejected?
Do not apply a blanket rule. Use the selected method's requirements and document any retest or exclusion. Ask the laboratory's responsible technical reviewer when the result is ambiguous.
Will a larger load cell stop the failures?
Not by itself. Measurement capacity and specimen gripping are different selection questions. Investigate the load-transfer problem before changing the sensor range.
Are pneumatic grips always better?
They can support repeatable settings, but face geometry, material compatibility and the procedure still determine suitability. Specify the full grip package, not only its actuation type.